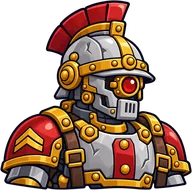
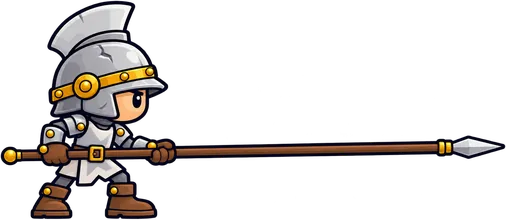
 Pikeling
Frontline | 2 | First Strike: Lands one free hit on an enemy charging into reach. | Cheap reach. First Strike punishes chargers like Hare Riders and Berserkers. |
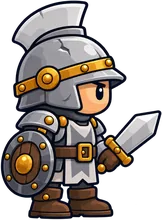 Vanguard
Frontline | 3 | Guard: Allies within 1.5 m of it take 25% less melee damage. | Lead with it: its Guard cuts melee damage to allies right behind it. |
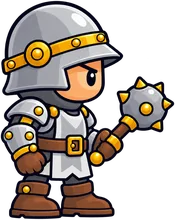 Squire Pair
Frontline | 4 | Back to Back: When one squire falls, the other attacks 30% faster. | Soaks hits and holds a lane. Splash hurts it: keep it away from shells. |
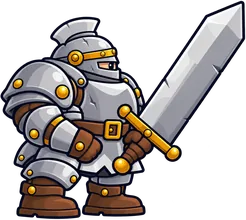 Bastion Knight
Frontline | 5 | Brace: Takes 40% less artillery splash damage. | 6 armour shrugs off light hits. Breakers and Crossbowmen are its counters. |
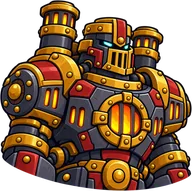
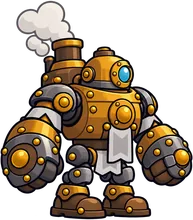 Clockwork Golem
Frontline | 6 | Unstoppable: Cannot be slowed or knocked back. | A machine: a Field Tinker repairs it. Slows don't work on it. |
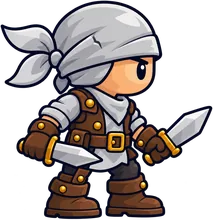 Skirmisher
 | 2 | Hunter: Slips past the enemy front line to reach archers within 8 m. | Hunter dashes past the front line at enemy archers. Send it behind a tank. |
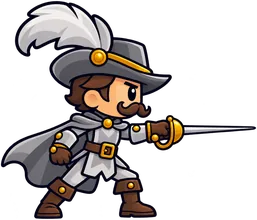 Duelist
Skirmisher | 3 | Parry: Ignores the first melee hit it takes. | Parry ignores the first melee hit. Strong one-on-one against melee troops. |
 Smokerunner
Skirmisher | 3 | Smoke: When hit, ranged enemies lose track of it for 2 s. | Ranged enemies lose track of it after a hit: it soaks archer fire for others. |
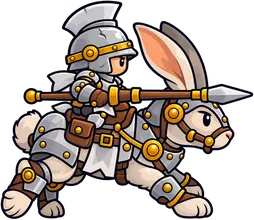 Hare Rider
Skirmisher | 4 | Charge: Its first hit deals double damage. | The fastest troop. Quick pressure on a lane before the enemy can answer. |
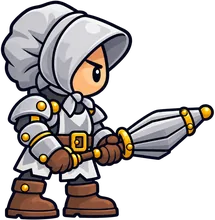 Parasol Guard
Shield | 3 | Parasol: Blocks a ranged hit on itself or an ally within 1.5 m, then recharges for 8 s. | Blocks a ranged hit on itself or a neighbour every 8 s: the answer to enemy archers. |
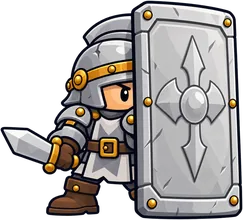 Shieldbearer
Shield | 4 | Shield Wall: Absorbs the first artillery splash for allies within 2 m. | Shield Wall cancels a cannon blast for allies within 2 m. Put fragile troops right behind it. |
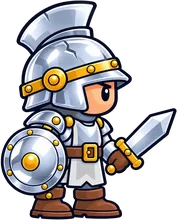 Mirror Knight
Shield | 5 | Mirror: Reflects the first Disruptor or Spark effect back at its source. | A sturdy 5-armour tank for the middle of a push. |
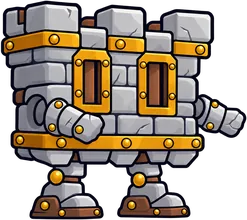 Tower Wall
Shield | 5 | Bulwark: Projectiles that hit it stop there. | 8 armour and 239 HP: a slow wall for long-range shooters to hide behind. |
 Bubble Tinker
Shield | 6 | Bubble: A dome absorbs 150 artillery damage, recharging every 12 s. | Hits from 3 m behind the front line. Keep it protected. |
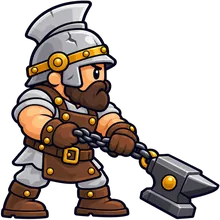 Anvil Smith
Heavy | 5 | Sunder: Hits strip 2 armour for 4 s. | Counters heavy tanks. Pair it with a healer for long fights. |
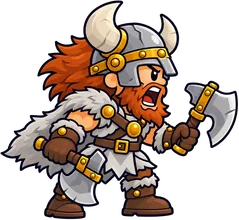 Berserker
Heavy | 5 | Rage: Attacks 50% faster below half HP. | Fast hits for a heavy (every 0.9 s). Strong in a long brawl. |
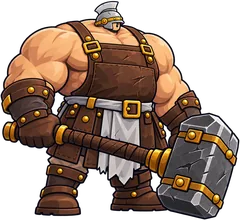 Breaker
Heavy | 6 | Crush: Deals 50% extra damage to armoured targets. | The answer to Bastion Knights and Golems. Slow: a Medic keeps it going. |
 Boulder Troll
Heavy | 7 | Regrow: Regenerates 4 HP per second out of combat. | The biggest body in the game. Breakers and Ember Imps wear it down. |
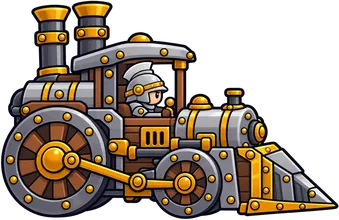 Steam Juggernaut
Heavy | 7 | Ram: Knocks the first enemy in its path back 2 m. | An 8-armour machine: a Field Tinker repairs it. |
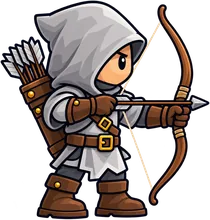 Ranger
Ranged | 2 | Volley: Long-range support that picks off light troops and fliers. | Long reach and your first anti-air. Keep it behind a tank. |
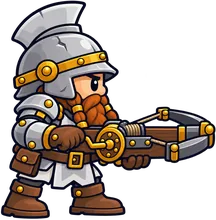 Crossbowman
Ranged | 3 | Pierce: Bolts punch through armour. | Picks off armoured troops from far back. Keep a wall in front of it. |
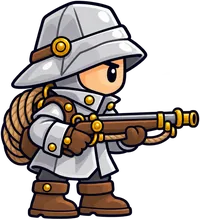 Harpooner
Ranged | 4 | Reel: Pulls a flier down for 2 s. | Pins fliers for 2 s: the hard counter to Gliders. |
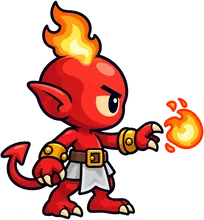 Ember Imp
Caster | 2 | Burn: Targets take 3 damage per second for 3 s (armour doesn't help). | Burn ignores armour: cheap pressure on Bastion Knights and Golems. |
 Frost Weaver
Caster | 4 | Chill: Slows its target 35% for 2 s. | Big hits from 5 m. Needs a front line to stand behind. |
 Spark Caster
Caster | 4 | Chain: The bolt jumps to 3 targets, 70% damage per jump. | Its bolt chains to 3 enemies: best against swarms like Scamp Trio and Bat Swarm. |
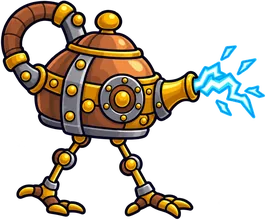 Storm Kettle
Caster | 5 | Chain 4: The bolt jumps to 4 targets. | A machine caster: a Field Tinker keeps it running. |
 Thunder Sage
Caster | 6 | Thunderclap: Calls a lightning strike with 2.5 m splash. | The biggest single hit (142) from 6.5 m. Very slow to swing: protect it. |
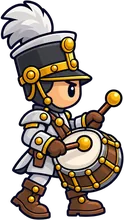 Drummer
Support | 3 | Tempo: Allies within 3 m attack 15% faster. | A cheap extra body for a melee push. |
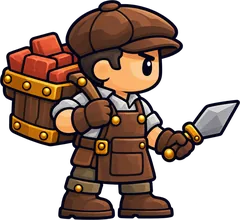 Mason
Support | 3 | Repair: Holds by your gate and restores 8 core HP every 2 s, up to 150 a battle. | Drop it early and keep it behind your wall. Shell the enemy's Mason. |
 Medic
Support | 3 | Patch Up: Heals the nearest wounded ally 12 HP every 2 s. Cannot heal the core. | Heals instead of attacking. Keep it behind a tank. It can't heal the core. |
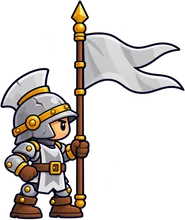 Banner Bearer
Support | 4 | Rally: Allies within 3 m move 15% faster. | A mid-cost fighter to fill out a melee push. |
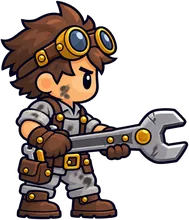 Field Tinker
Support | 4 | Rivets: Repairs constructs 15 HP every 2 s and gives the nearest ally +2 armour. | Repairs machines within 3 m and gives its nearest ally 2 armour. |
 Alchemist
Support | 5 | Tonic Flask: Lobs a flask that heals allies in 2 m for 25. | 53 damage from 4 m: a back-line hitter. |
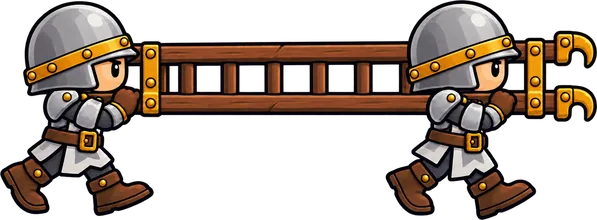 Ladder Crew
Siege | 3 | Ladder: Climbs over Palisades and barriers, and crosses a Moat at full speed. | Goes over walls instead of through them. Fragile: keep it out of cannon fire. |
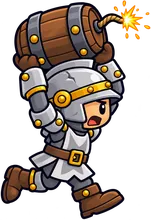 Powder Runner
Siege | 3 | Kaboom: Explodes on first contact (2 m splash) and is destroyed. | Fragile: send it behind a tank so it reaches the wall. |
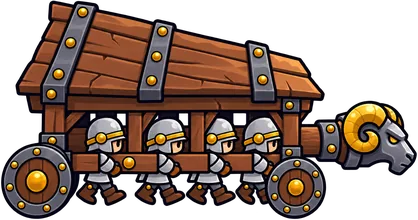 Ram Crew
Siege | 4 | Battering Ram: Only attacks structures; troops must stop it. | Escort it: enemy troops have to stop it before it reaches the gate. |
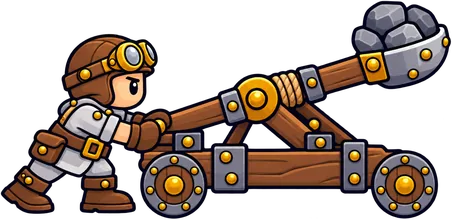 Pebble Catapult
Siege | 5 | Lob: Arcs boulders over the ridge at structures only. | Long reach but slow and soft. Keep a front line ahead of it. |
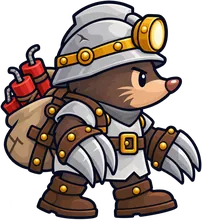 Siege Mole
Siege | 5 | Dig In: Tunnels through the ridge's steep faces; slowed 50% while under artillery fire. | Nothing can target it underground. Send it when the enemy front line is busy. |
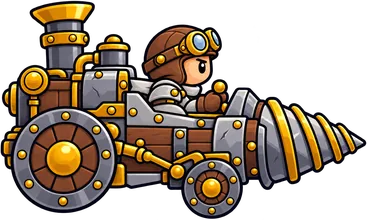 Drill Wagon
Siege | 6 | Tunnel: Travels underground and surfaces at the enemy wall. | Travels underground. A machine: a Field Tinker repairs it. |
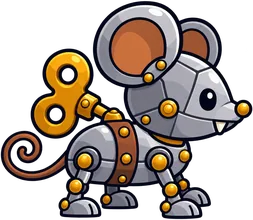 Clockwork Mouse
Saboteur | 2 | Gnaw: Enemy Charge regenerates 20% slower for 5 s. | Slows the enemy's Charge: fewer cannon shots against you. |
 Gremlin
Saboteur | 2 | Jam: Each hit on the fortress jams a launcher for 3 s. | Every hit on the fortress jams a launcher for 3 s. Cheap and fast. |
 Saboteur
 | 3 | Sabotage: On reaching the fortress, disables one module for 6 s. | Jams a launcher when it reaches the fortress: fewer shells on your push. |
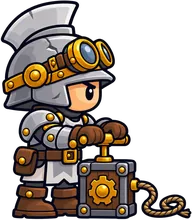 Sapper
Saboteur | 4 | Demolition: Plants a charge on a wall module (90 damage after 3 s). | Escort it to the wall: it's soft on the way there. |
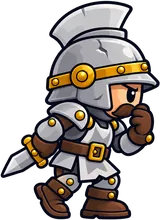 Turncoat
Saboteur | 5 | Disguise: Enemies ignore it until it attacks. | A solid 31-damage fighter for the middle of a lineup. |
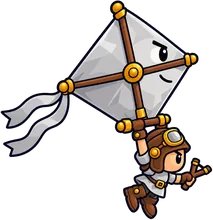 Paper Kite
Air | 2 | Spotter: Enemies near it take 10% more artillery damage. | Enemies within 3 m of it take 10% more shell damage. Fly it over a crowd then fire. |
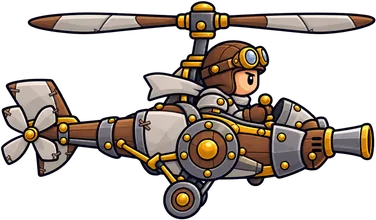 Gyrocopter
Air | 4 | Strafe: Shoots ground and air targets alike. | The flier that hunts other fliers: send it after Gliders and Bat Swarms. |
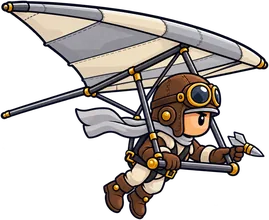 Glider
Air | 5 | Overflight: Flies over the ridge. Weak to anti-air. | Flies over the ridge. Only fliers and anti-air can hit it: Ranger · Spark Caster · Harpooner · Gyrocopter. |
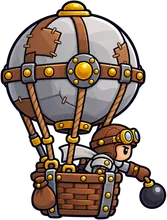 Balloon Bomber
Air | 6 | Bombs Away: Drops bombs on structures with 2 m splash. | Slow and big. Clear the enemy's anti-air first. |